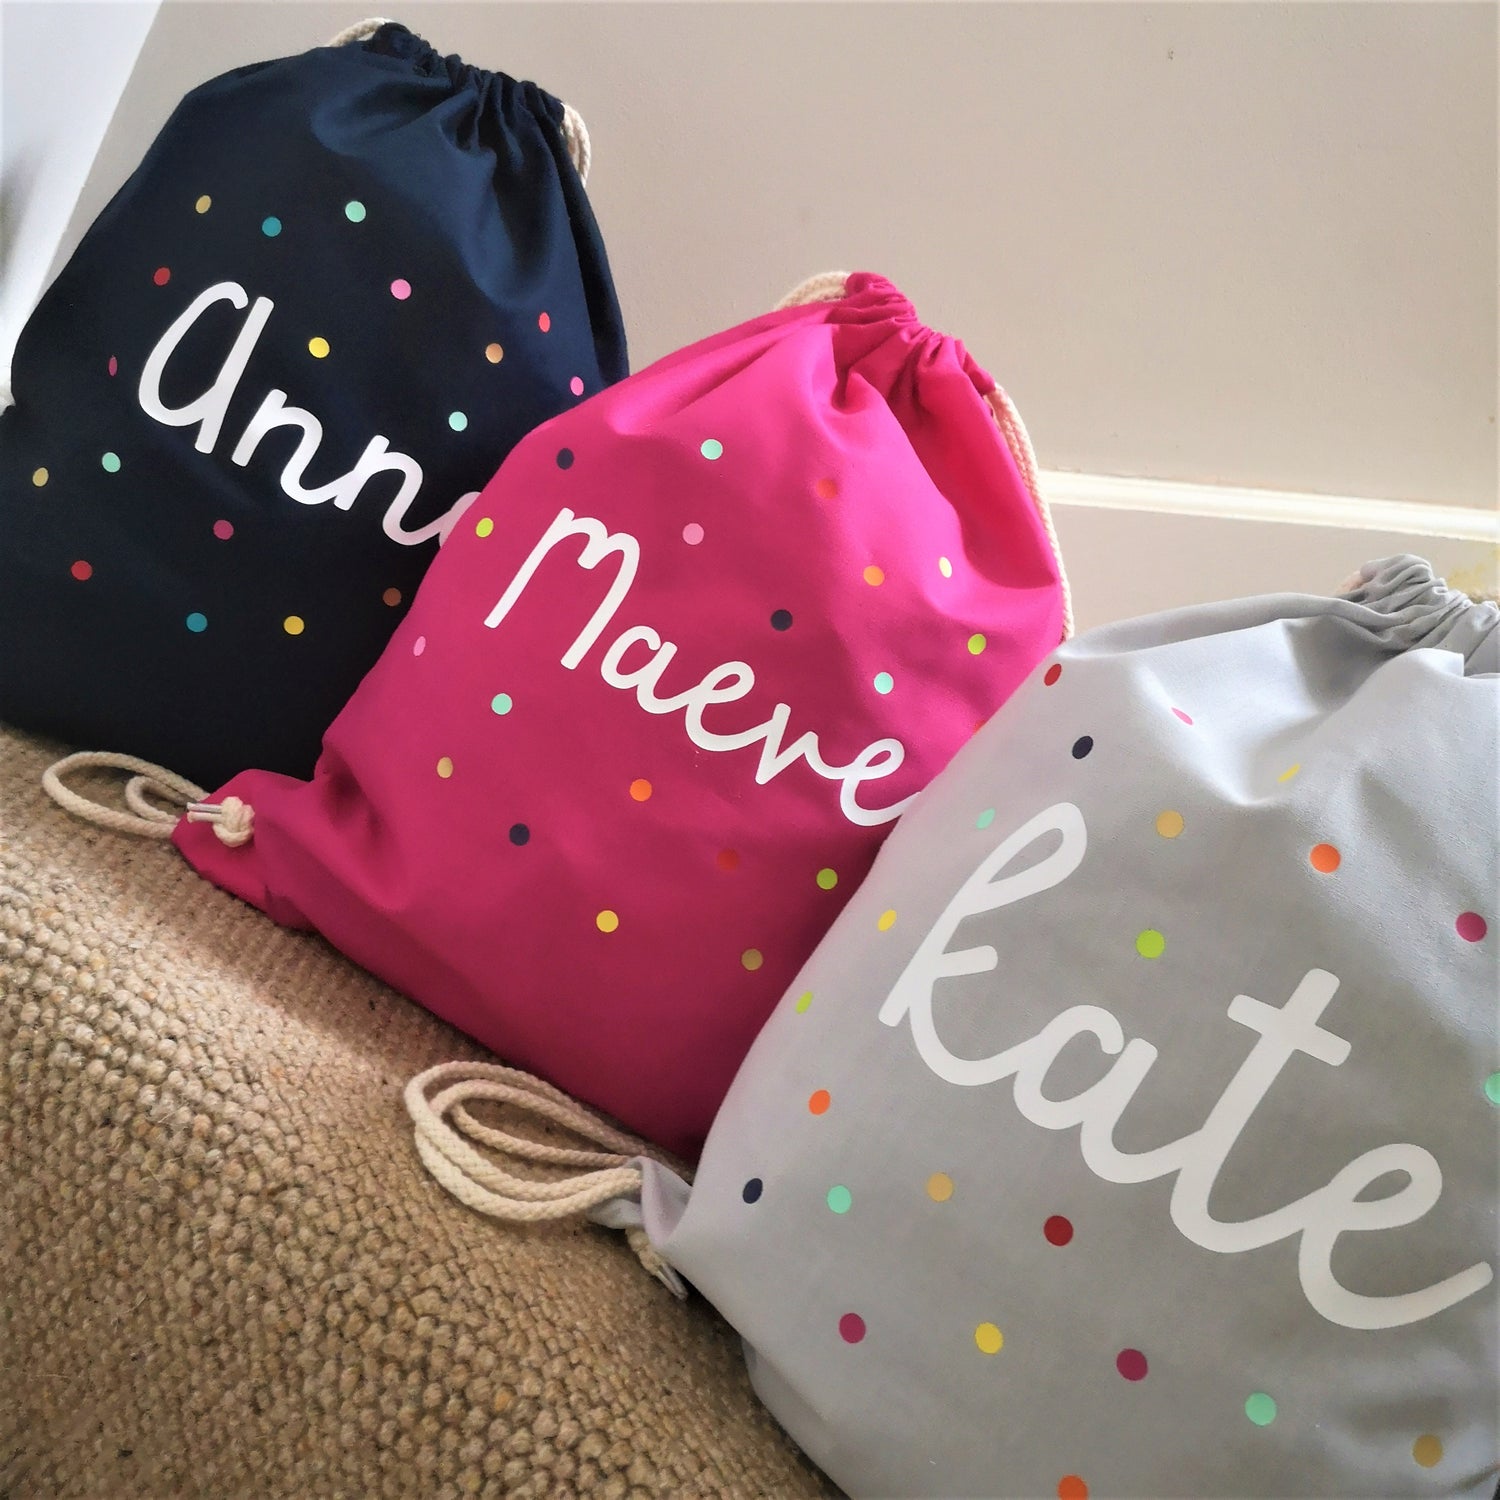
How I make my totes and bags
I first started making totes when I realised I couldn't find a nice swimming tote to buy for myself. I wanted something personalised that was a little bit different but nothing caught my eye, so I thought why not give it a go myself.
After a few months making totes I started trying new products and ideas like book totes, backpacks, gym sacks, drawstring bags, pencil cases, pennants and pouches!
I buy them blank, cut my designs in vinyl and apply them using a heat press machine (basically a very big iron).
Even my heat press collection has expanded and I have 3 of them now in different sizes.
The big fella is used for the thick cotton swim totes, the medium guy is used for pouches and pencil cases and the tiny one is used to apply my label to them all.
Vinyl comes in all different shades, tones and textures.
I have plain matte vinyl in all the colours you can think of, as well as gloss, holographic, glittered, metallic and flocked vinyl.
By far the most popular vinyls are Rose Gold and Mint, followed closely by gold glitter.
Some designs are definitely more time consuming than others.
My polkadot gymsacks and totes take a while but I love them too much to stop making them.
The backpacks are the trickiest ones to make as they are very hard to flatten to apply the vinyl, but over time I've learnt a few tricks to help.
Recently I've started working with Sublimation and heat printing and I am beginning to use it in my bag designs too, like with my patterned Initial drawstring bags.
-
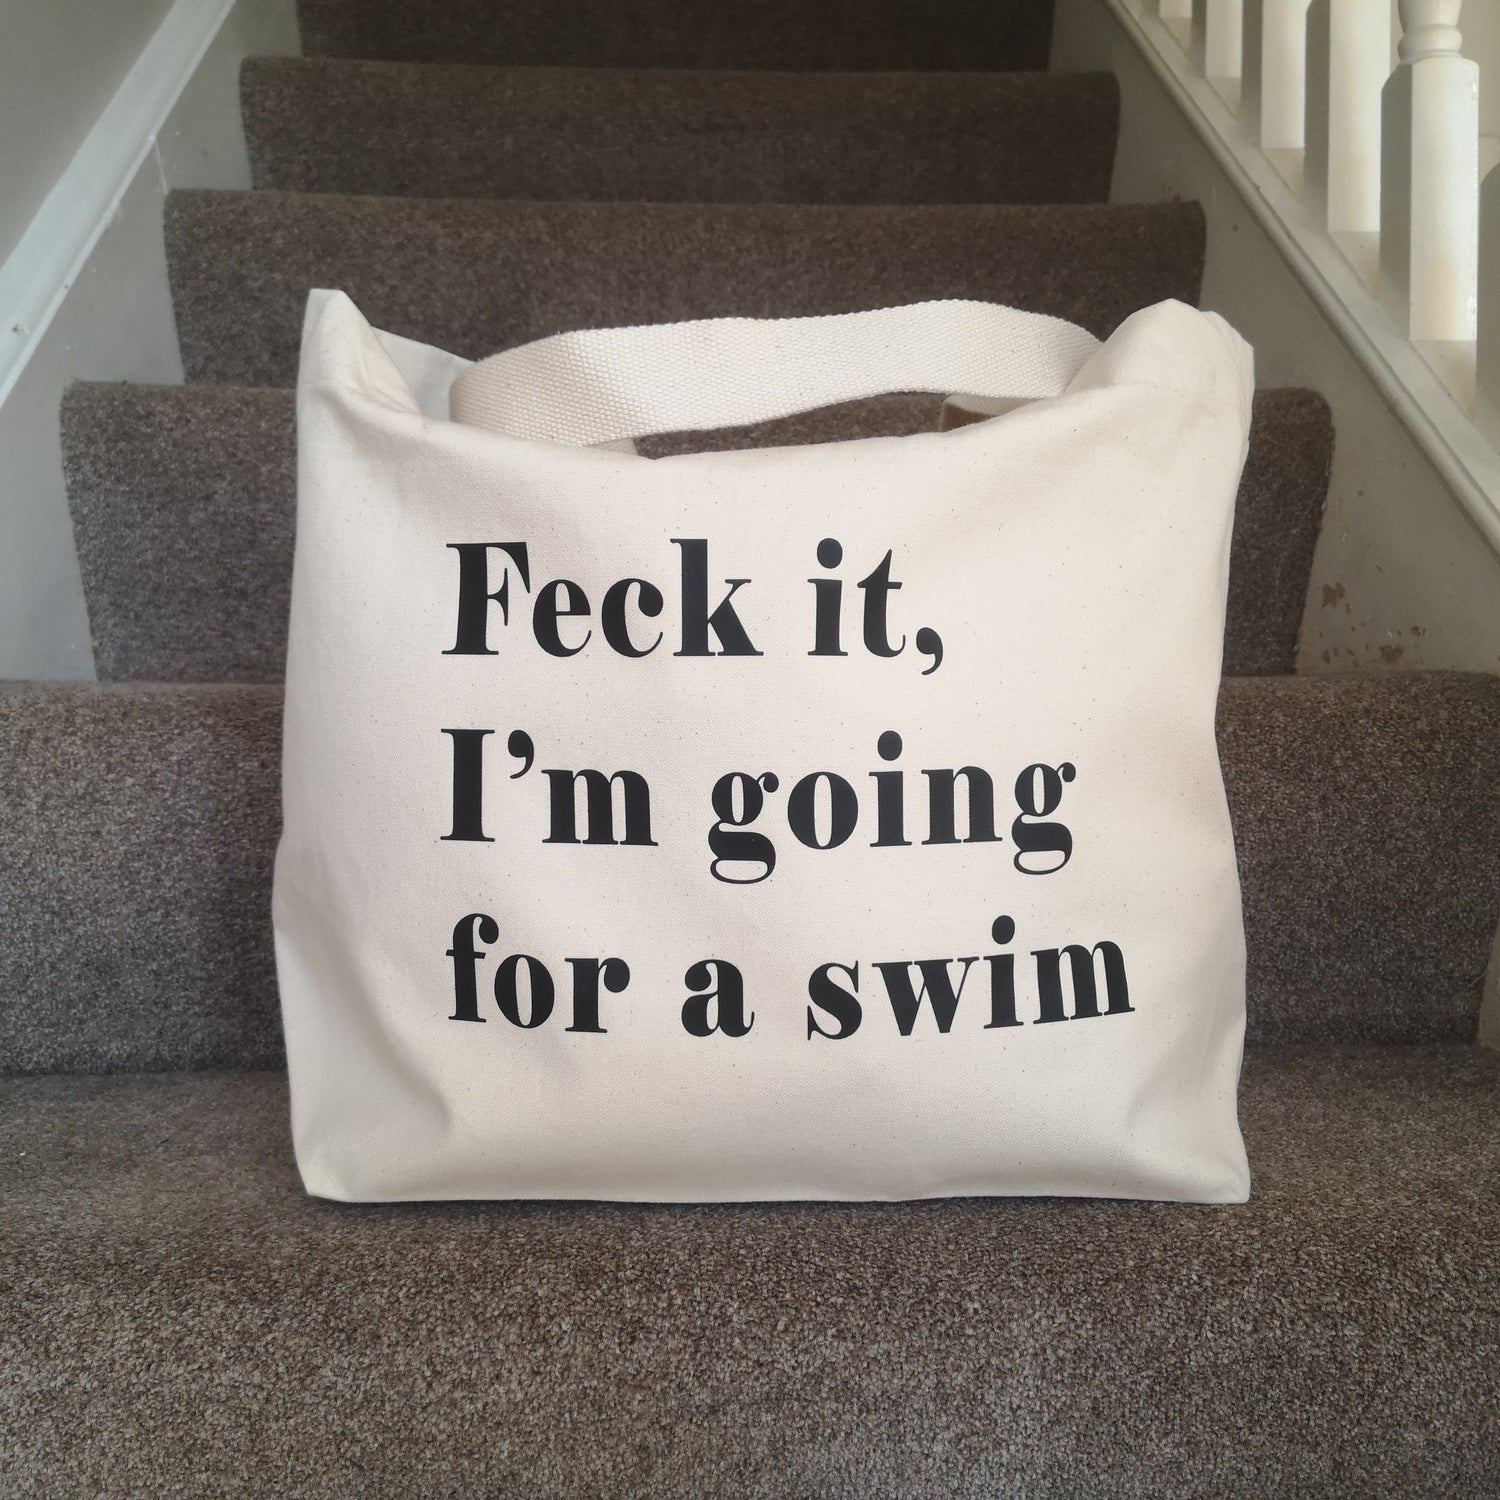
Swimming Totes
My selection of cotton canvas Swimming totes. Click on a photo below...
-
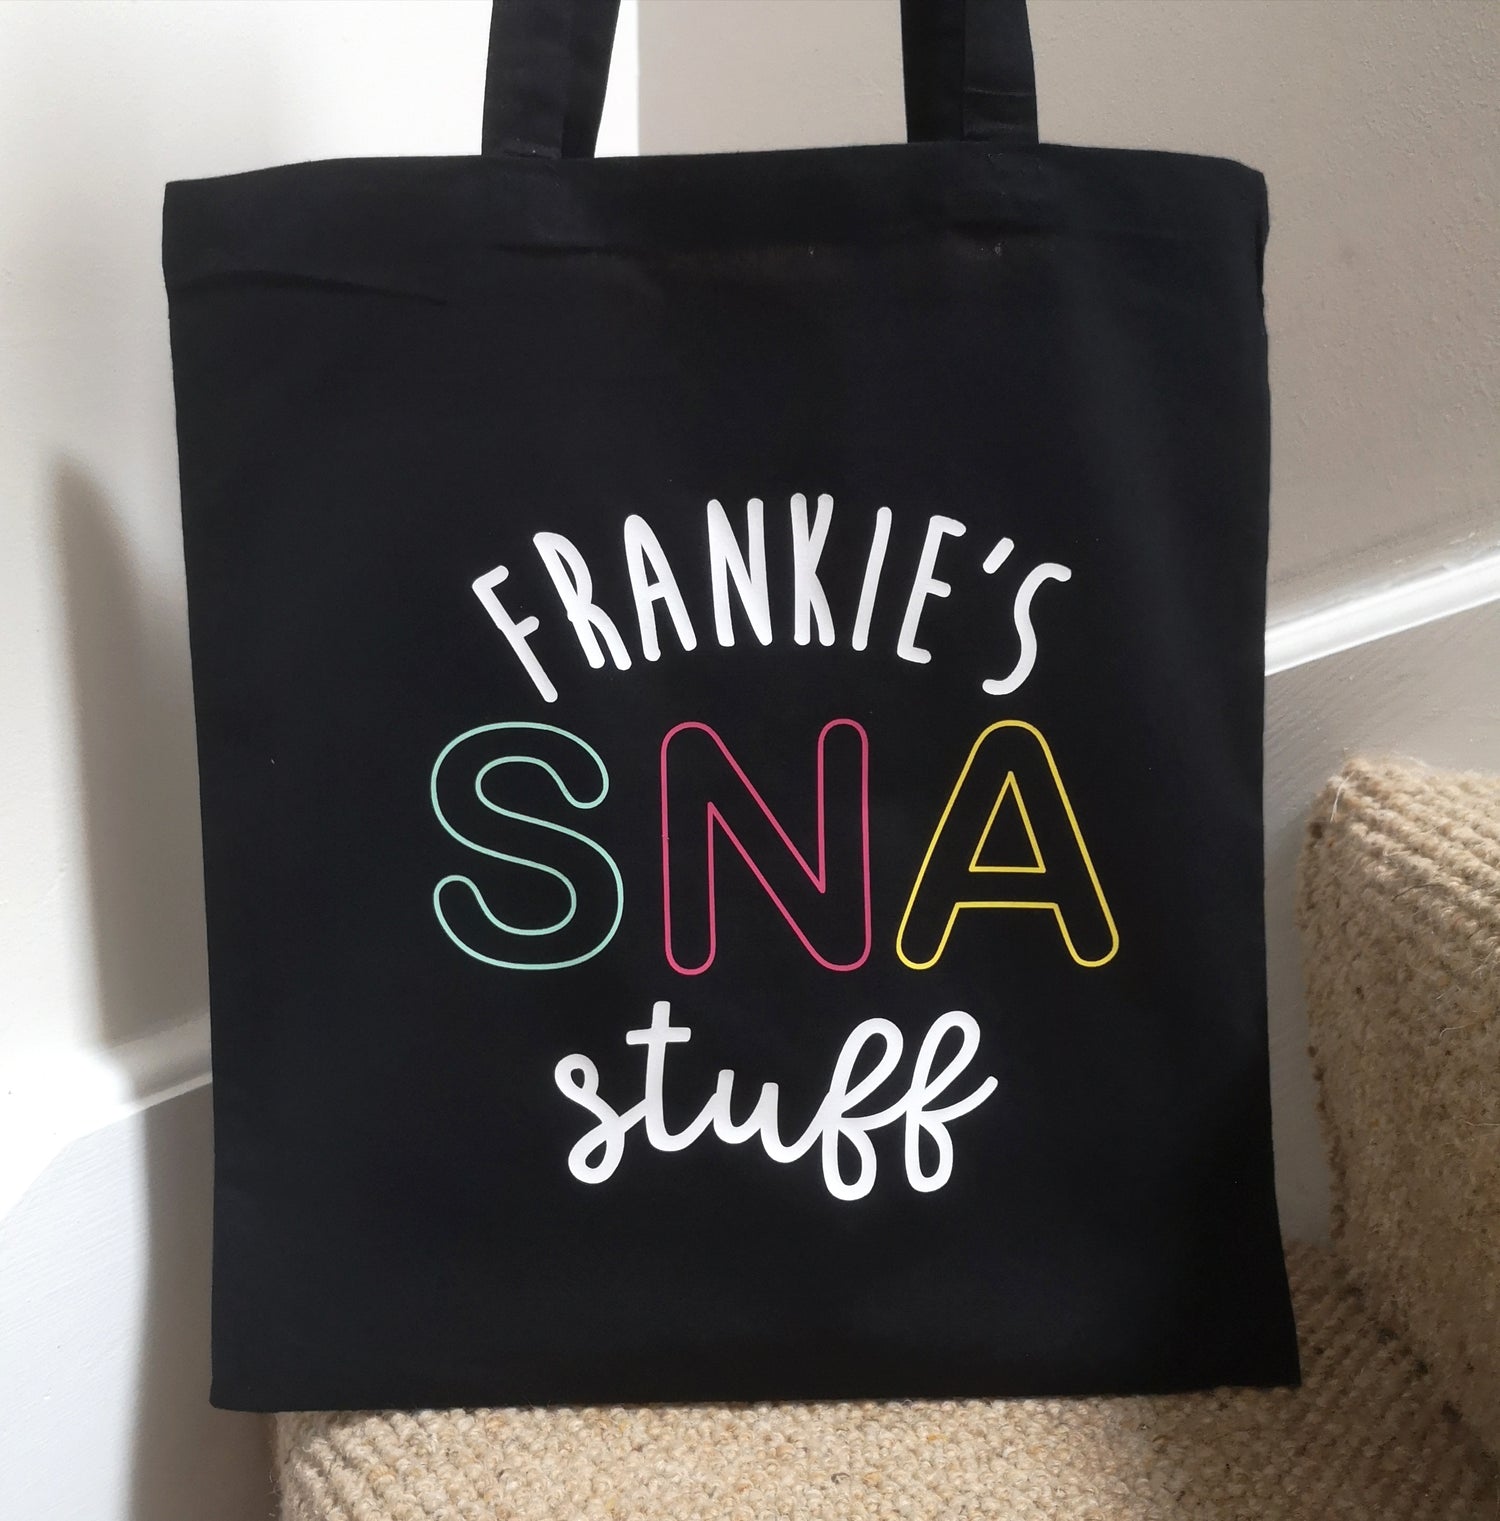
Teacher & SNA Gifts
Show your kids teacher or class SNA some love this year by...
-
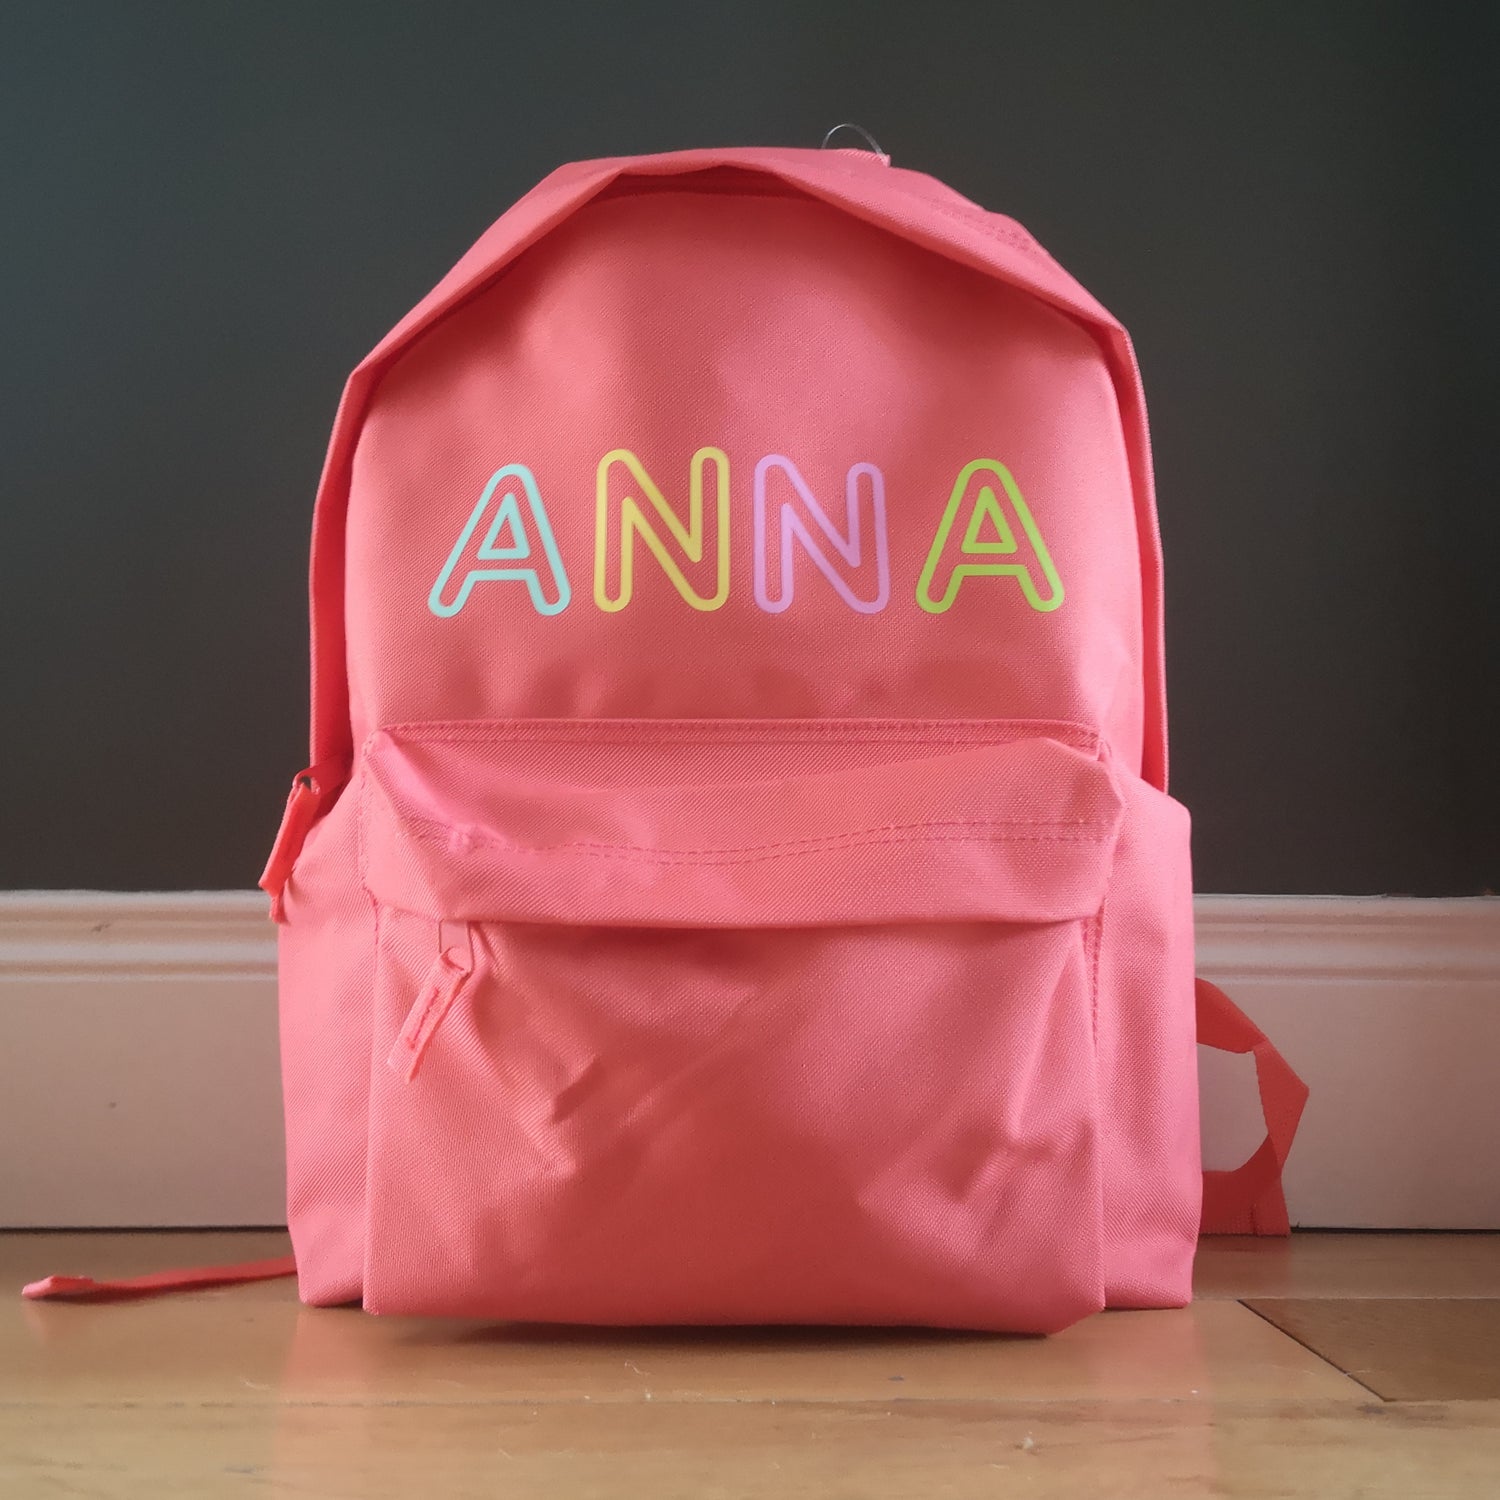
Kids Backpacks
Bright and colourful personalised backpacks for the special little one in your...
-
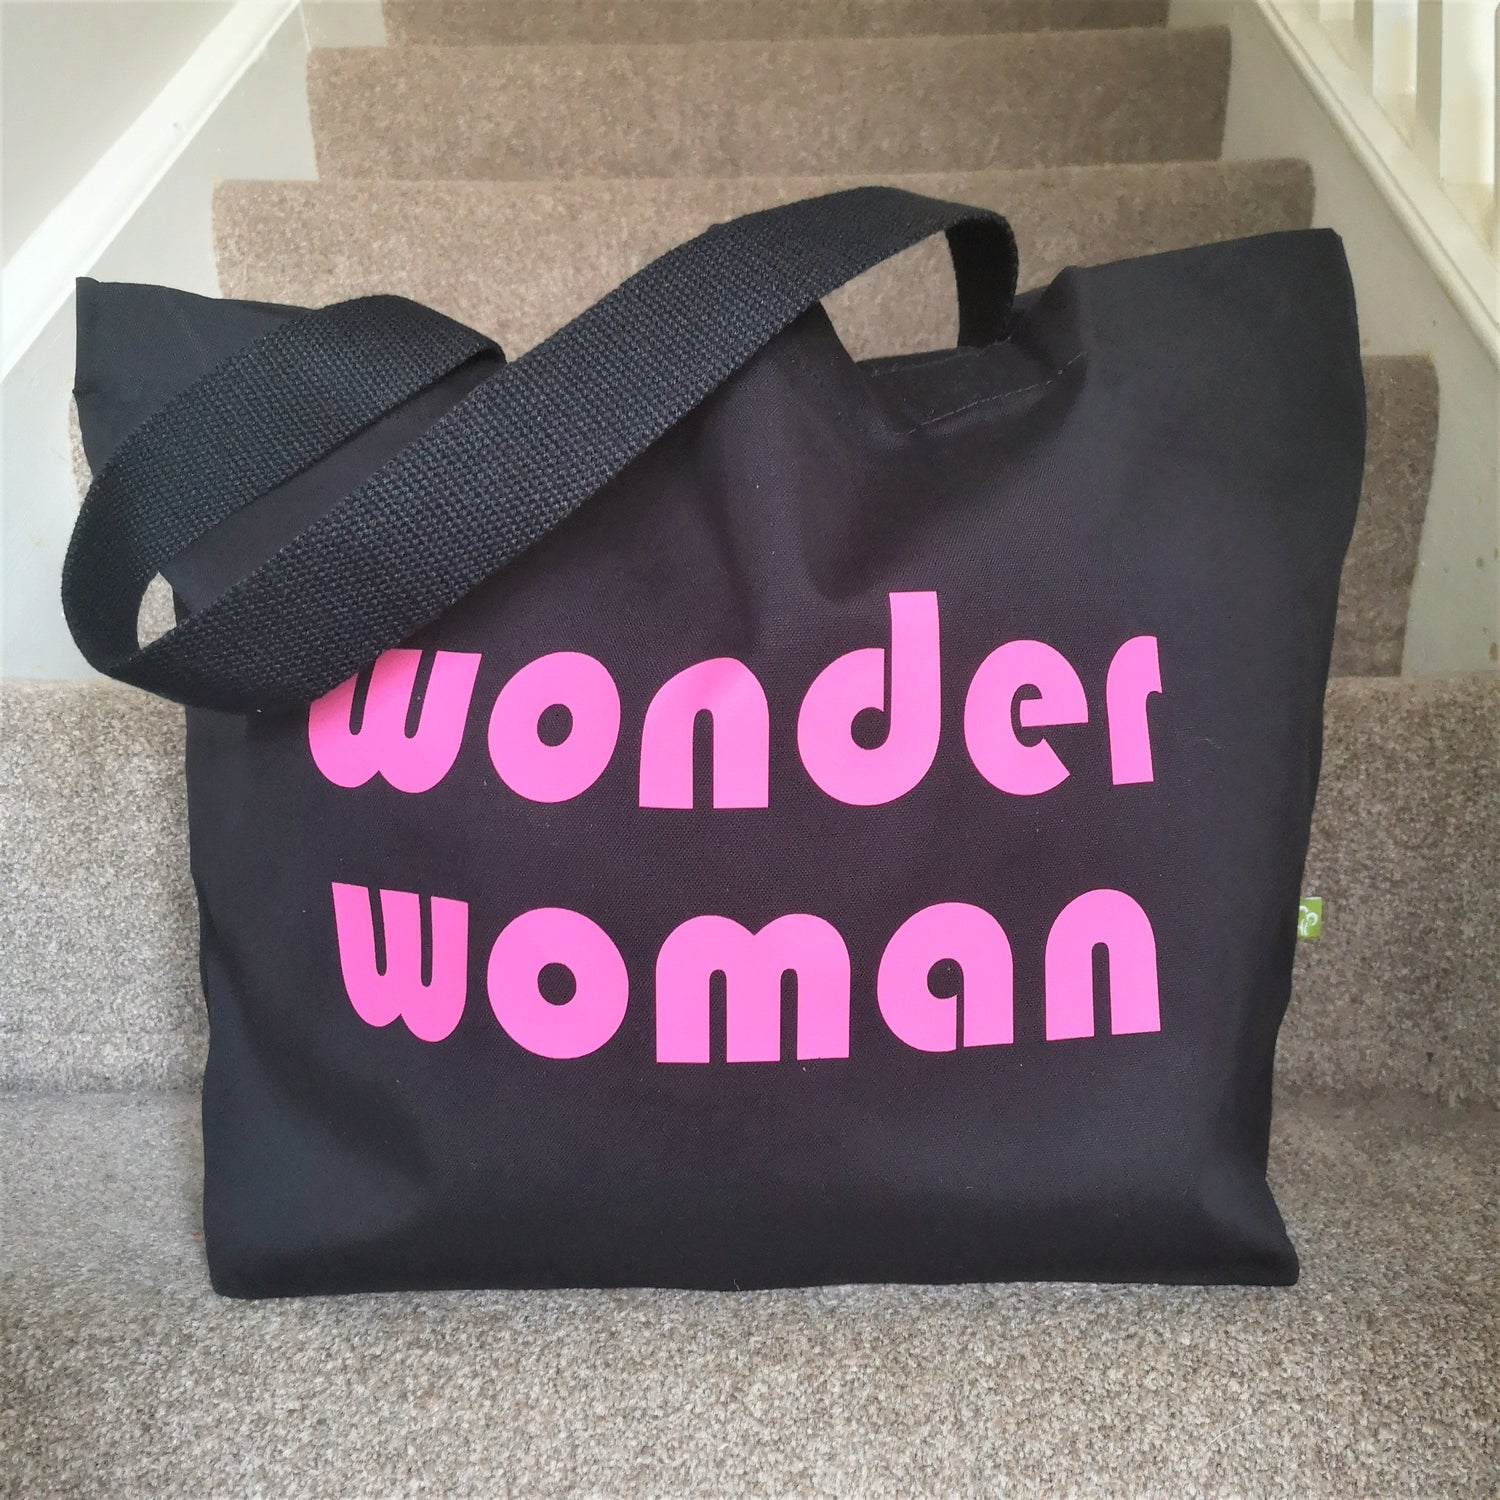
Totes for all Occasions
My selection of organic cotton totes that have nothing whatsoever to do...


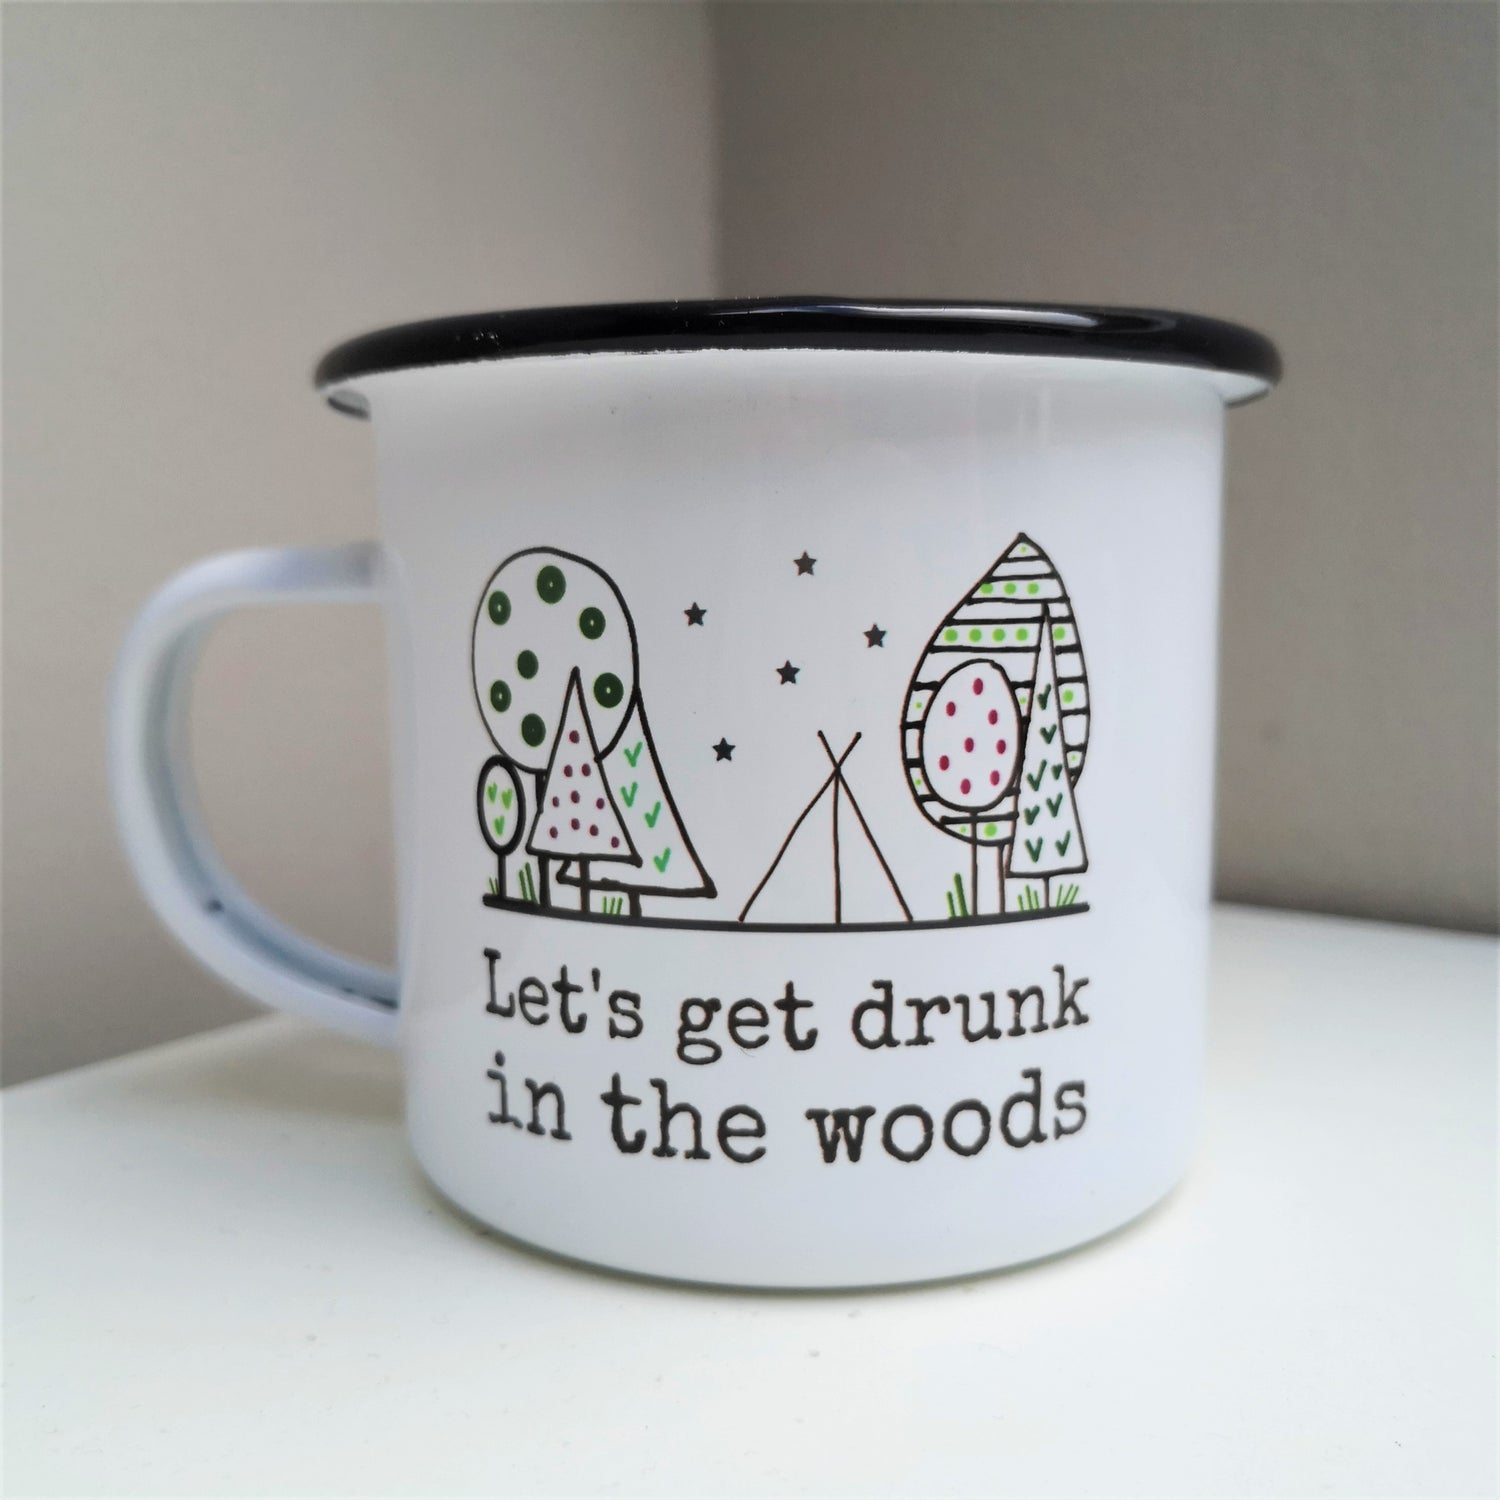
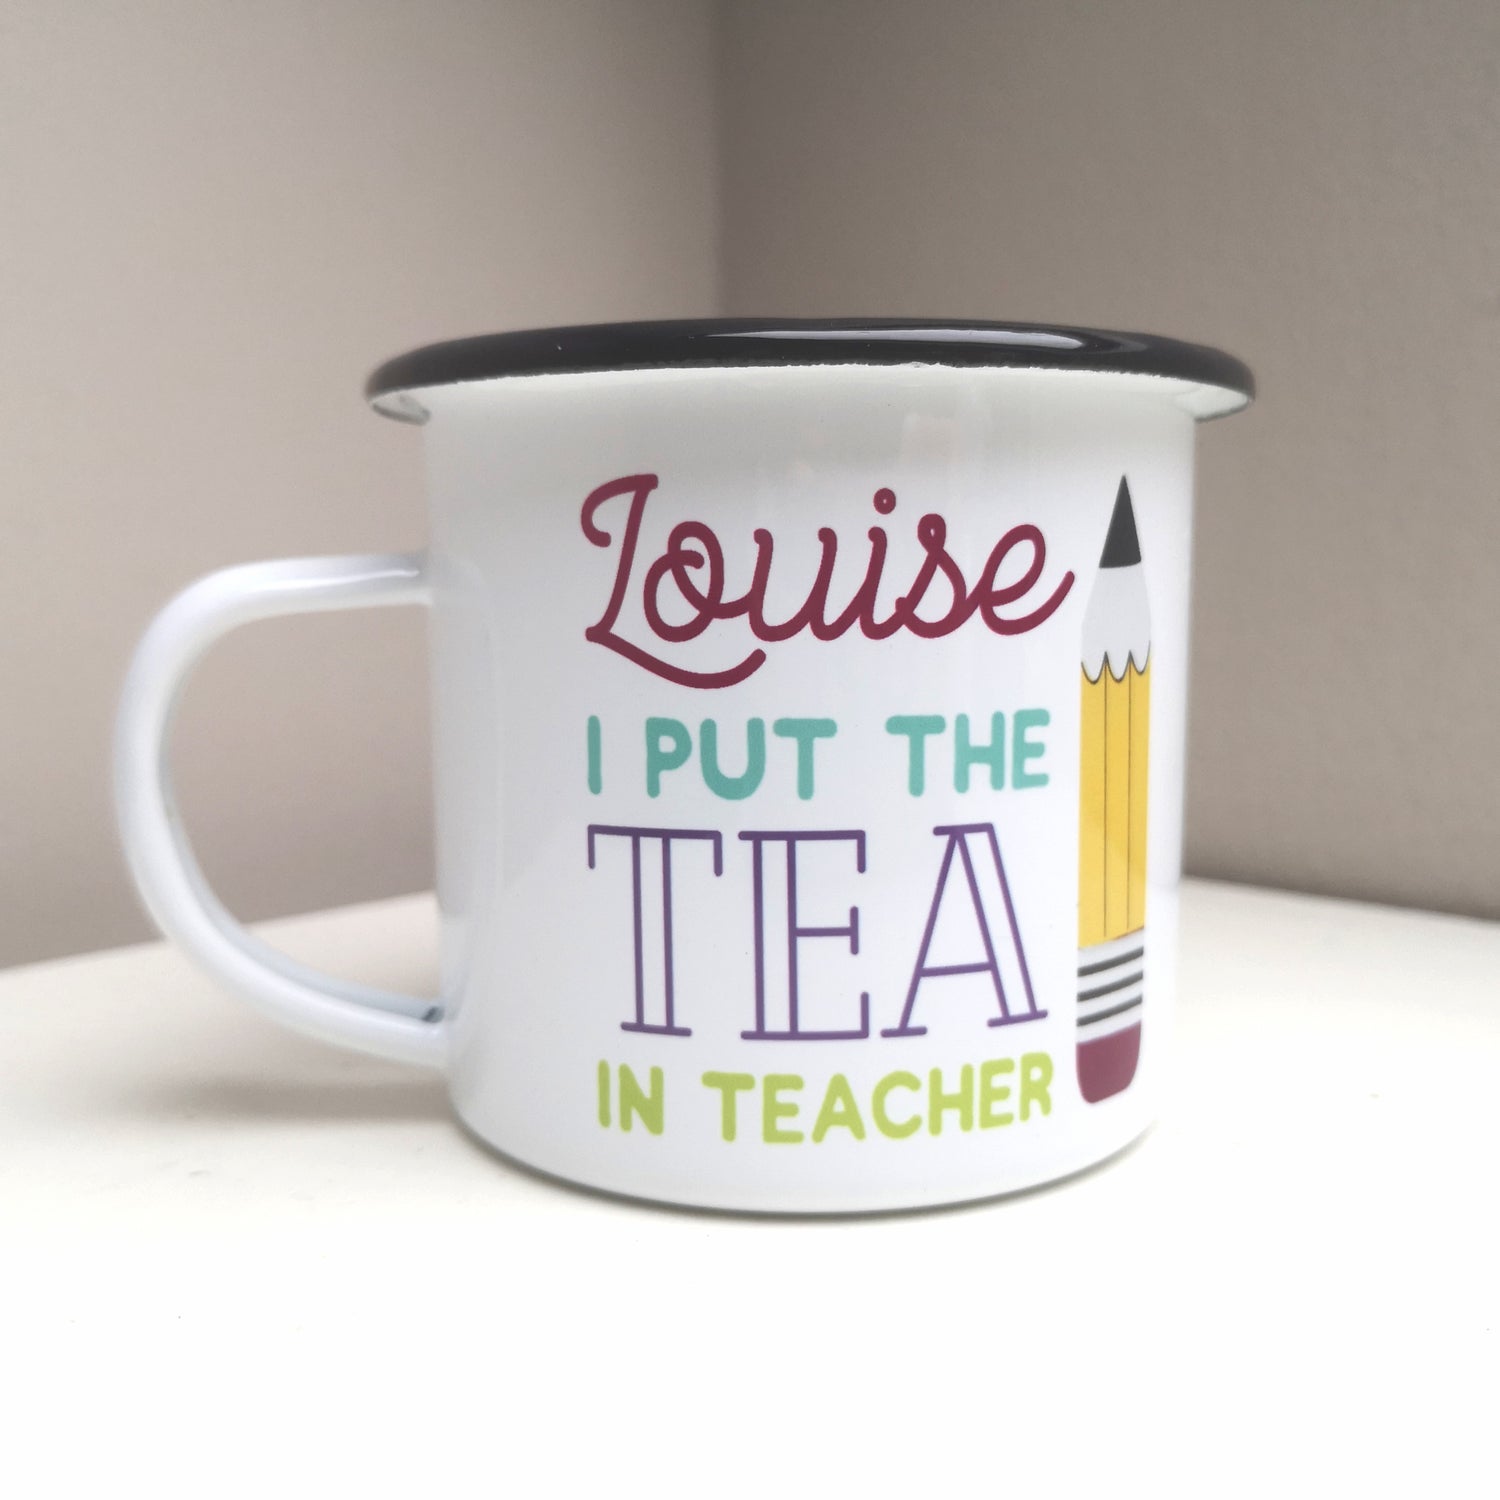
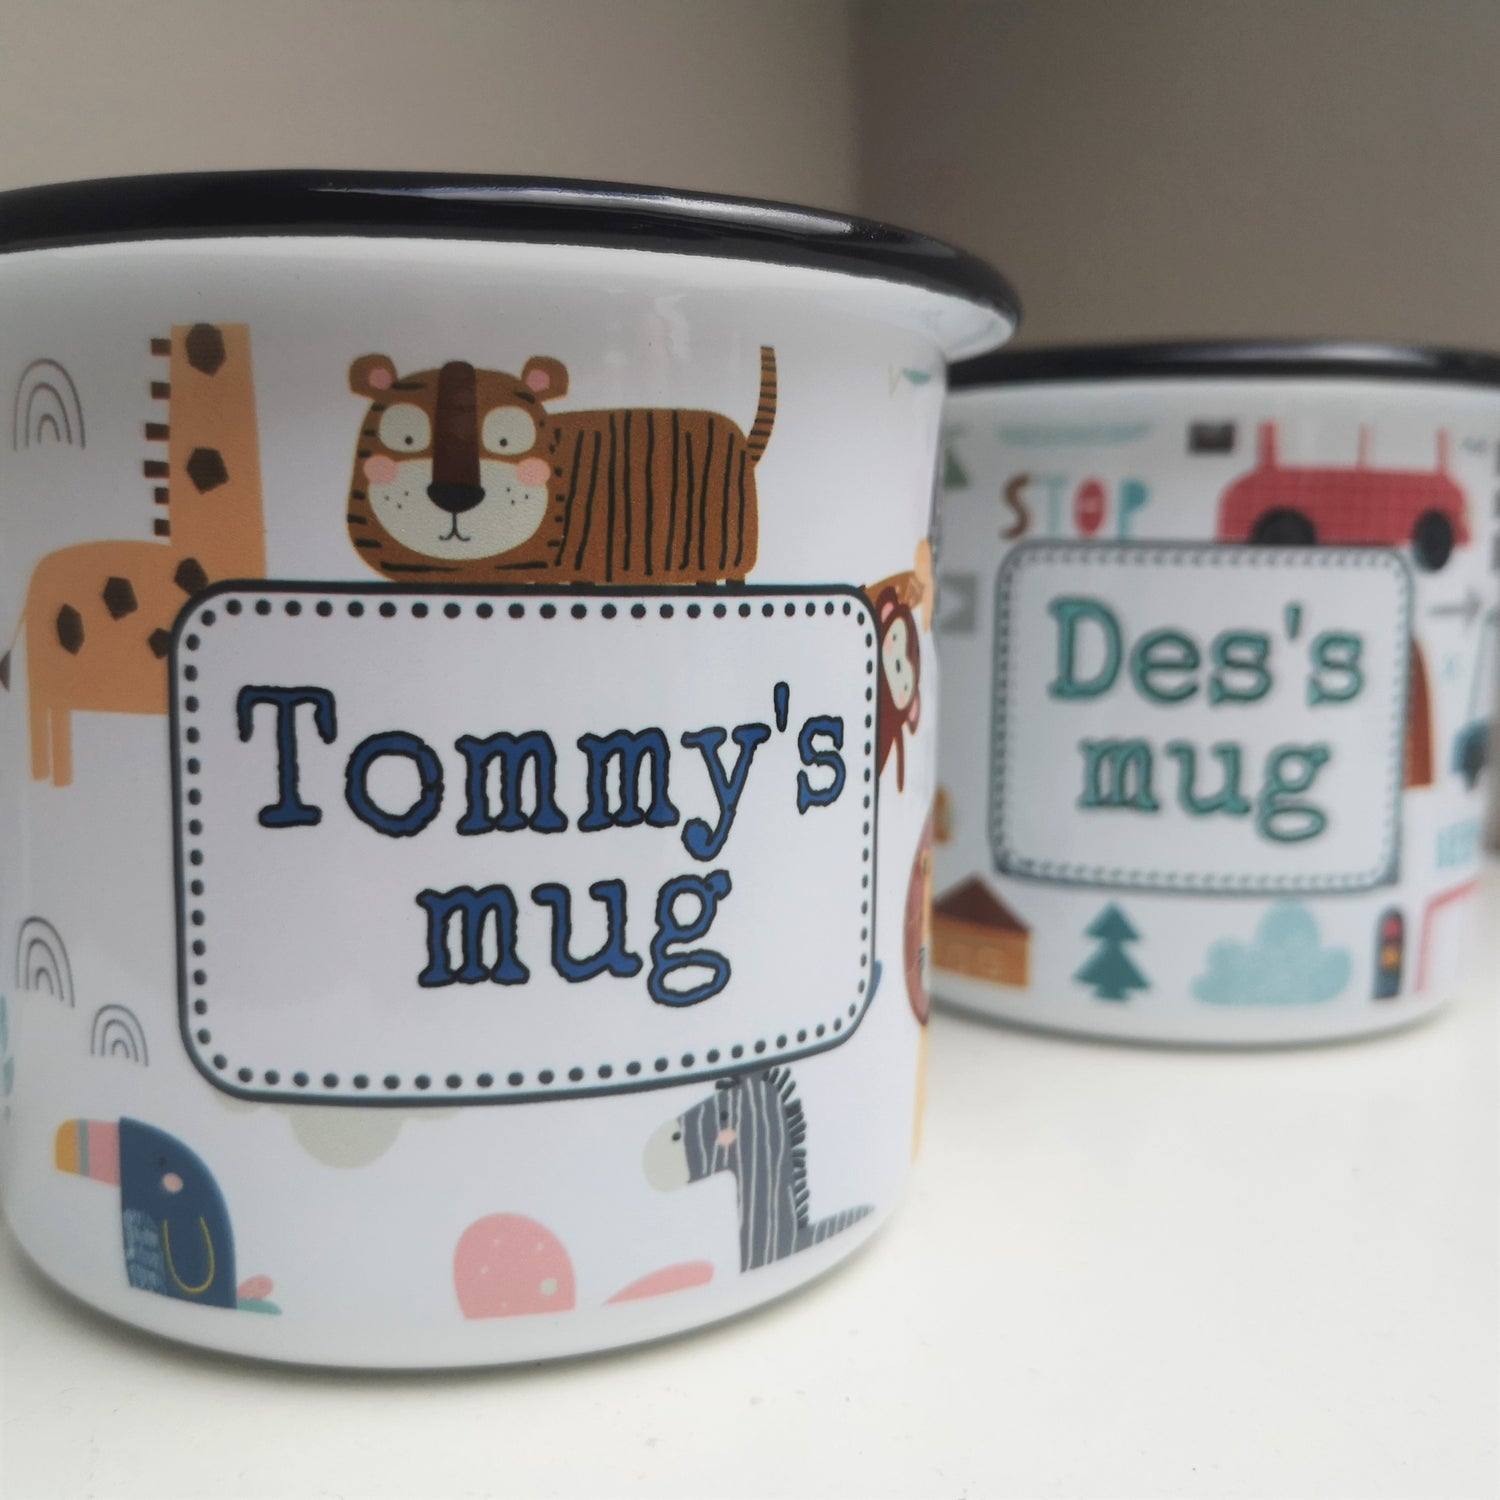
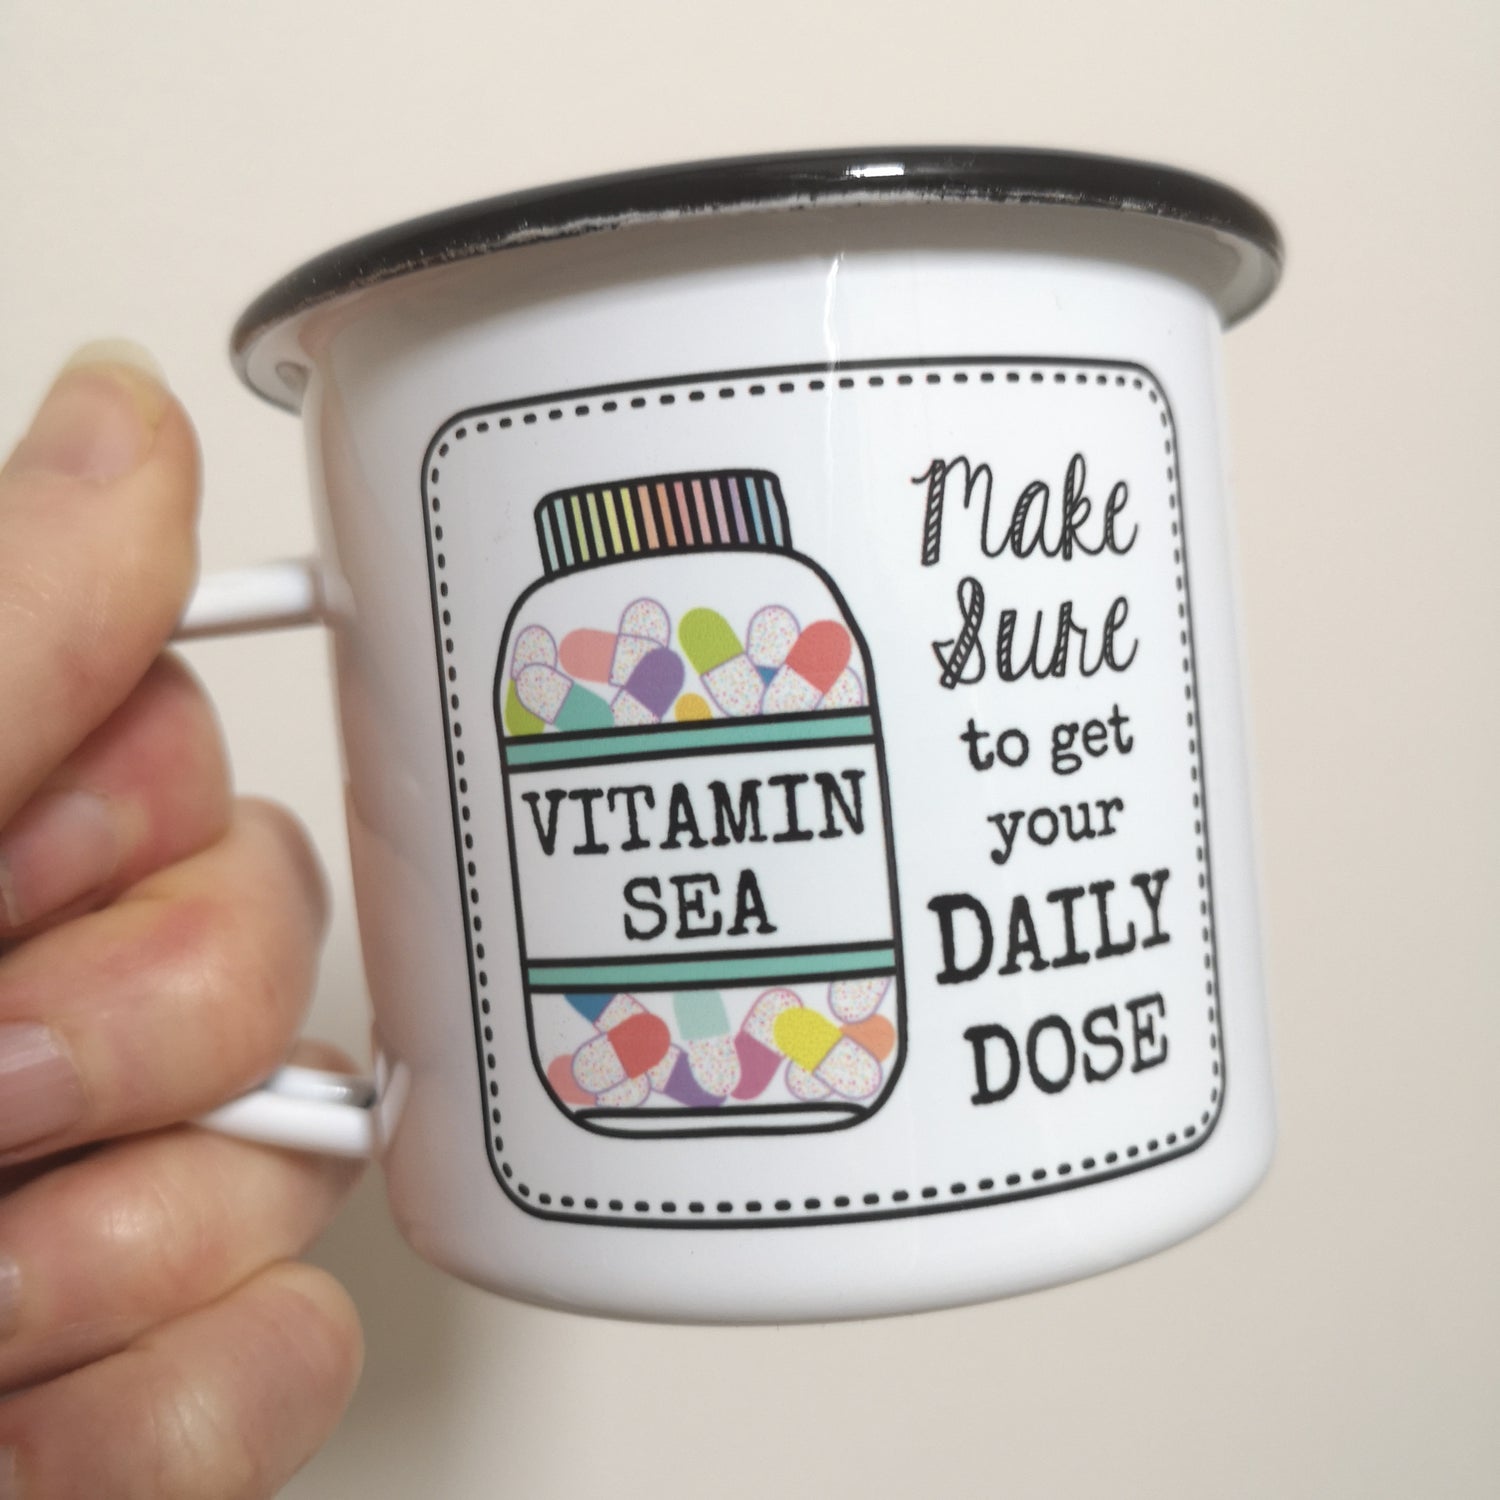
How I make my mugs and bottles
Like my totes, I started making mugs as I wanted an enamel one to use after my swims but had no luck finding one local.
So I bought a mug press, some mugs and the equipment and started making my own.
I love enamel mugs. They heat up when filled with a hot drink and warm your hands after a swim, hike or time outdoors.
They don't smash when you drop them which is always handy when you're a bit of a klutz like me.
I print on the mugs using a process called sublimation which involves special printers, paper, wraps, heat tape, heat presses and ink.
My poor workroom is full to the brim with all the stuff I need for them.
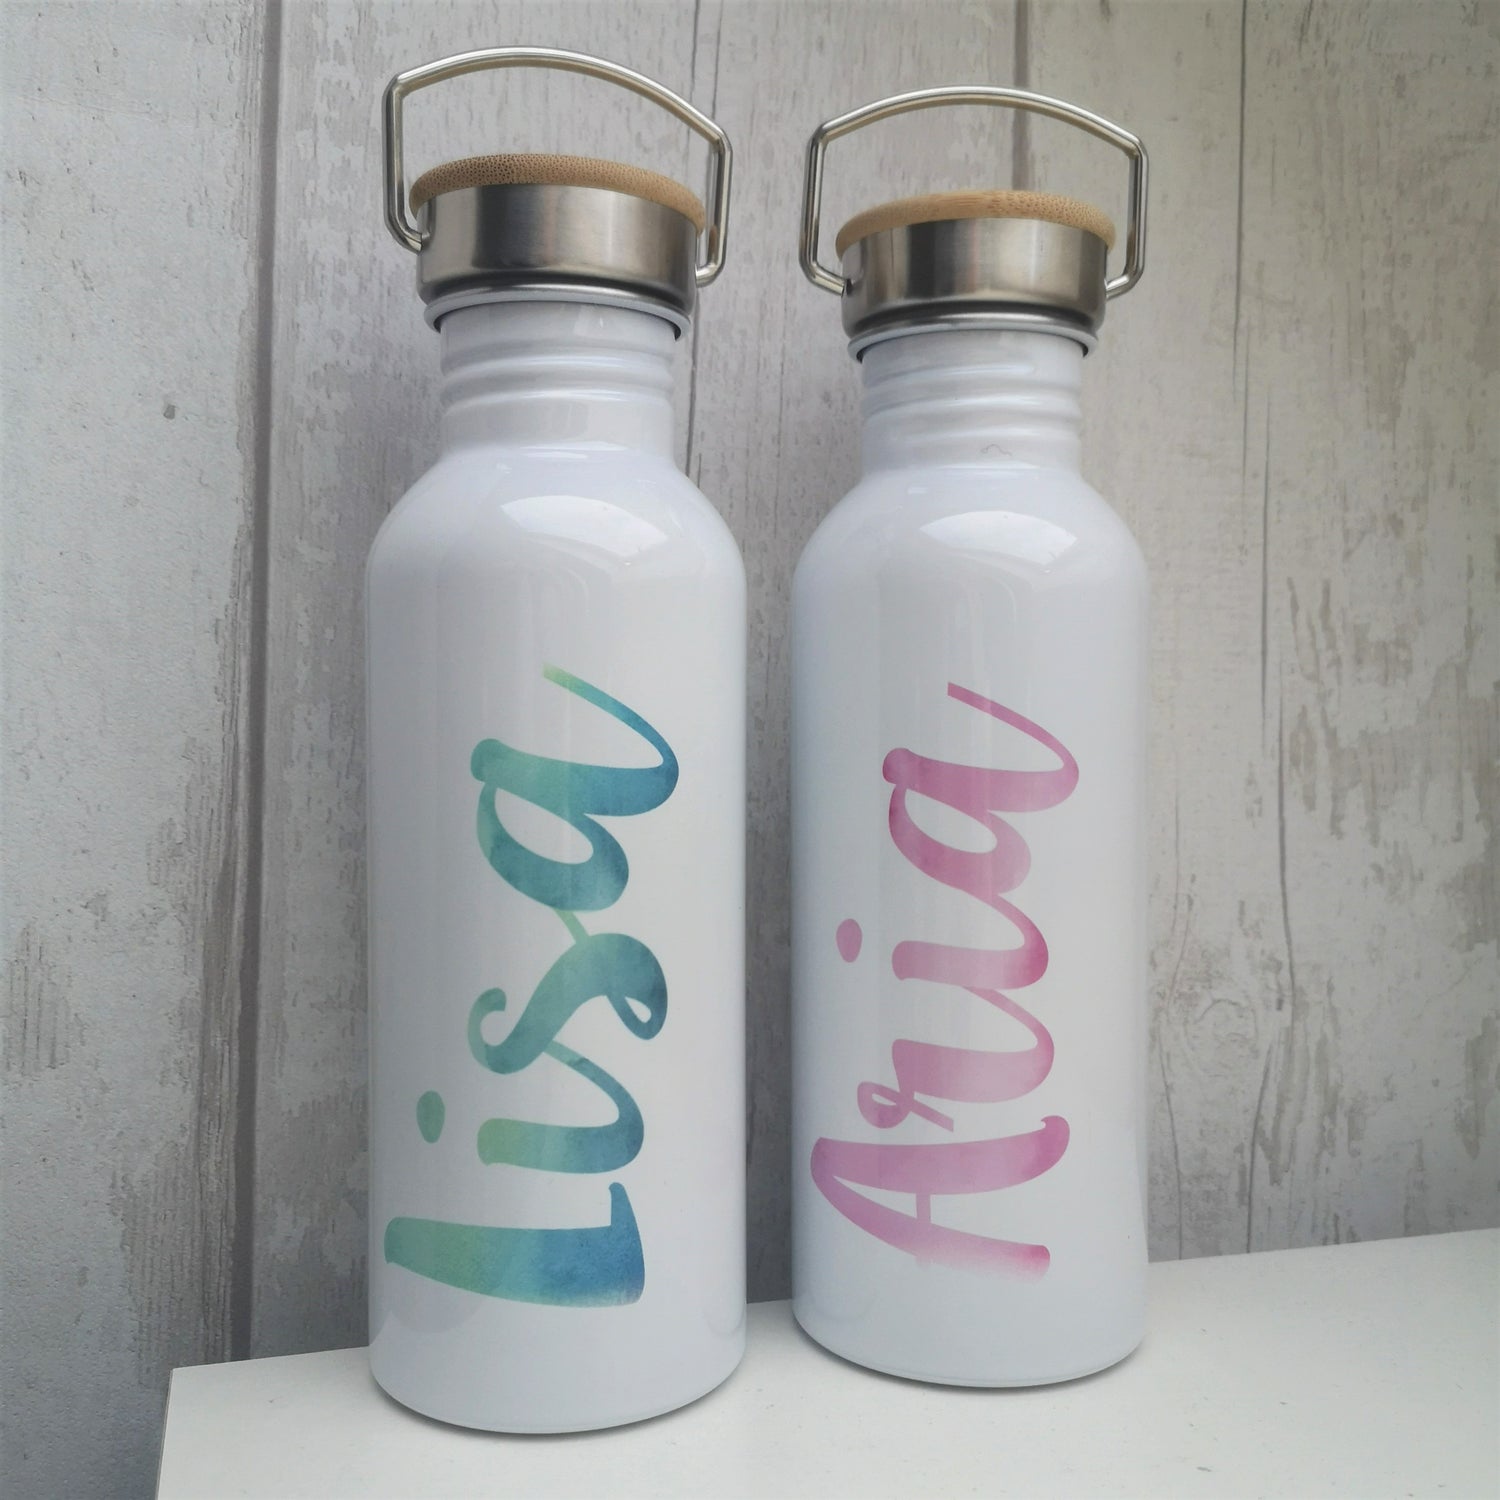
Sublimation was a HUGE learning curve for me and I am still learning every day.I buy the mugs blank from a great sublimation crowd down in Wicklow, print out my design and transfer it to the mug using sublimation paper and a mug heat press.I make my designs using 2 different graphics software. One is fantastic for fonts and the other for handdrawn elements. Sometimes I buy patterns off graphic artists and merge them with my own designs. I keep adding new mug designs and have recently added water bottles too.
-
Camping & Hiking Enamel Mugs
My collection of hardy enamel mugs for any campers or hikers in...
-
Mugs for Teachers & SNA's
My collection of unique designed and handprinted mugs that can be personalised with...


How I make my Papercutting Frames
When I first started Love Letter Arts I made just scrabble frames.
After a few years I got myself a Cricut (google it!) and started to learn all about the process of die cutting, also known as paper cutting.
I knew there were elements of my frames that I couldn't hand cut so I would design the shape in special design software and the Cricut would cut it for me.
Since then I've moved on to a bigger Silhouette die cutter and it is honestly the workhorse of my craft room, every day it's in use. My family are sick to death of the noise of it.
It cuts my vinyl, stickers, sublimation prints and also the card shapes for my frames.
Over the years I've learnt which paper and card I like to work with most.
There are so many types out there that it was honestly trial and error in the beginning.
My favourite paper is called Canson Mi-teintes and I order it directly from France. It has different textures on both sides which makes it so versatile and it never fades.
The machine can cut lots of different materials and when I have some free time I'd love to learn what it can do with leather, woodchip and acrylic, but for now it earns it's keep.
-
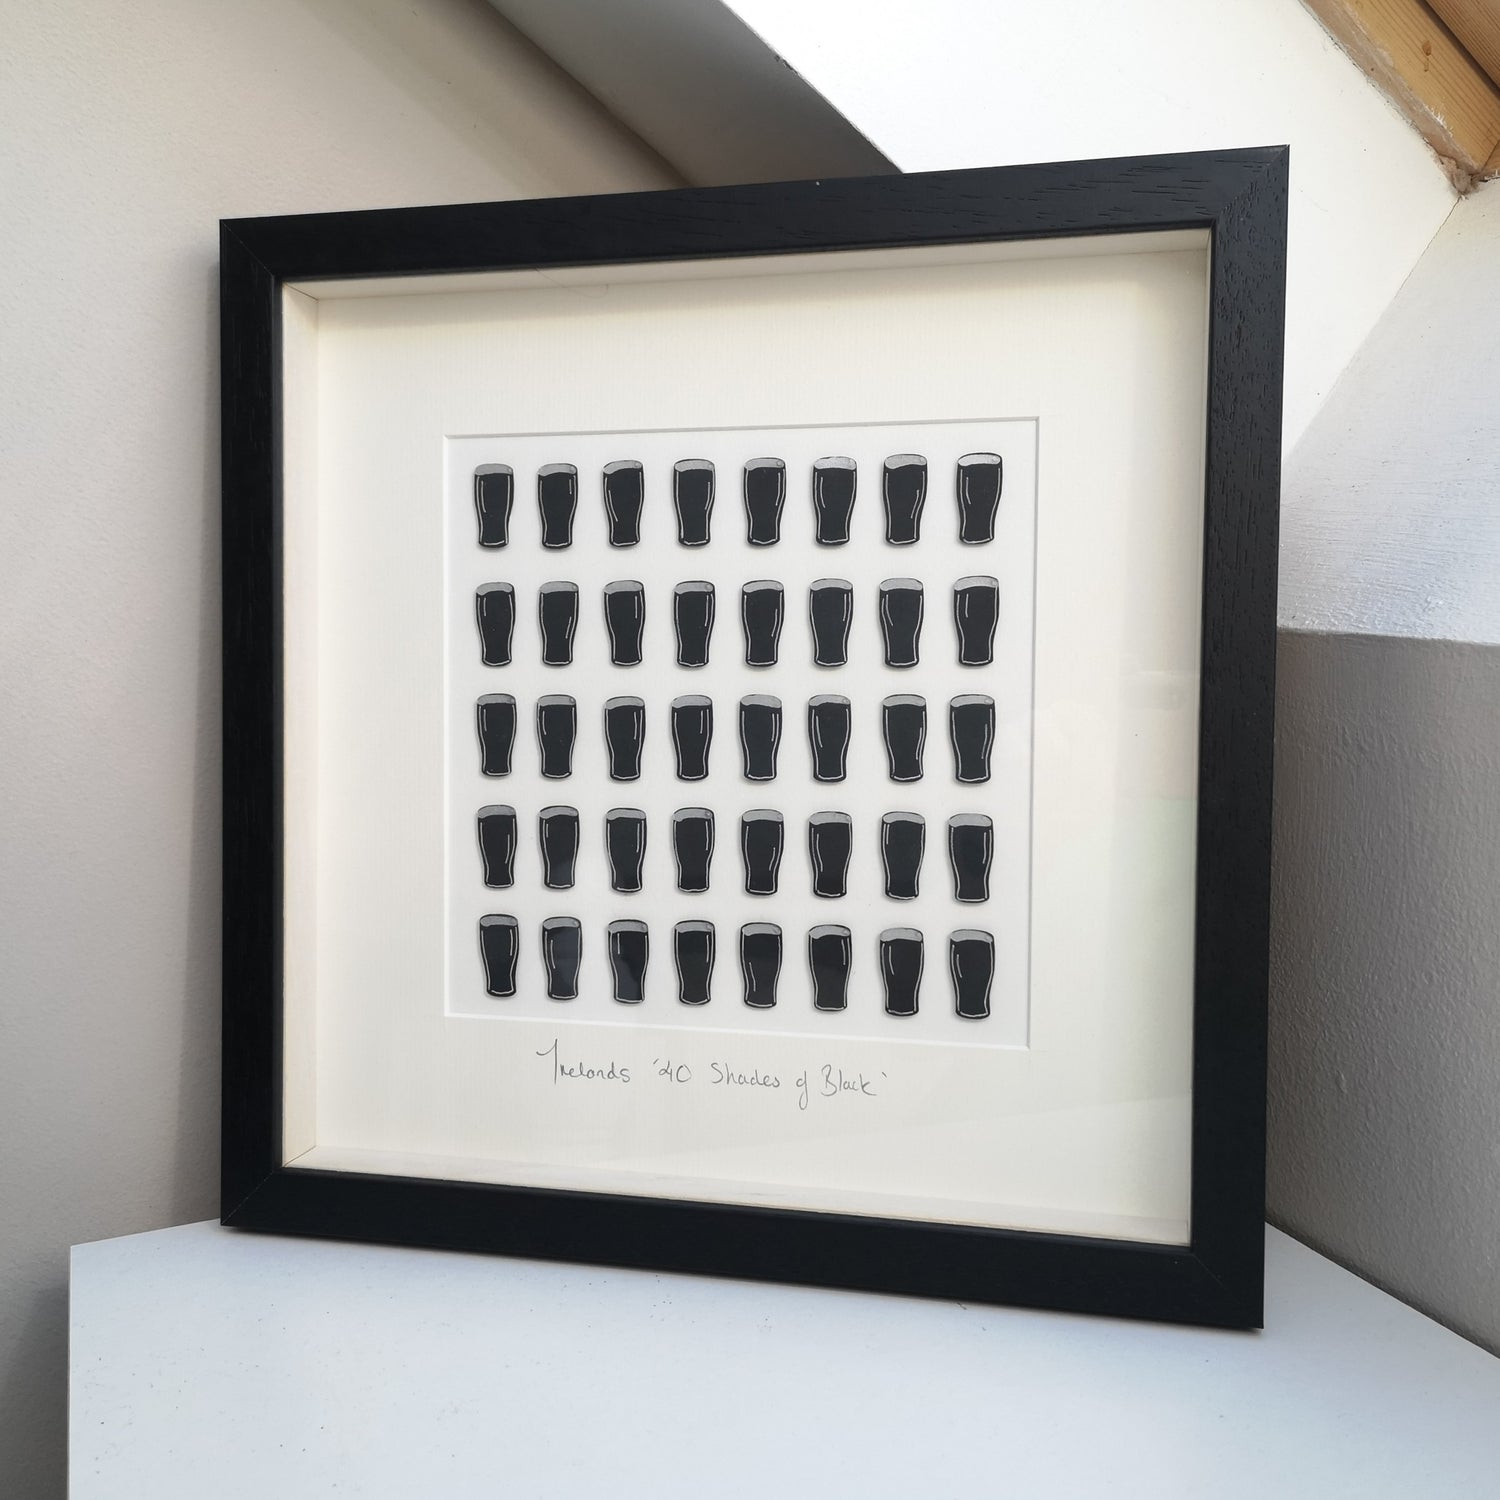
GIFTS CELEBRATING IRELAND
Here are my handmade quirky gifts that have an altogether Irish twist...
-
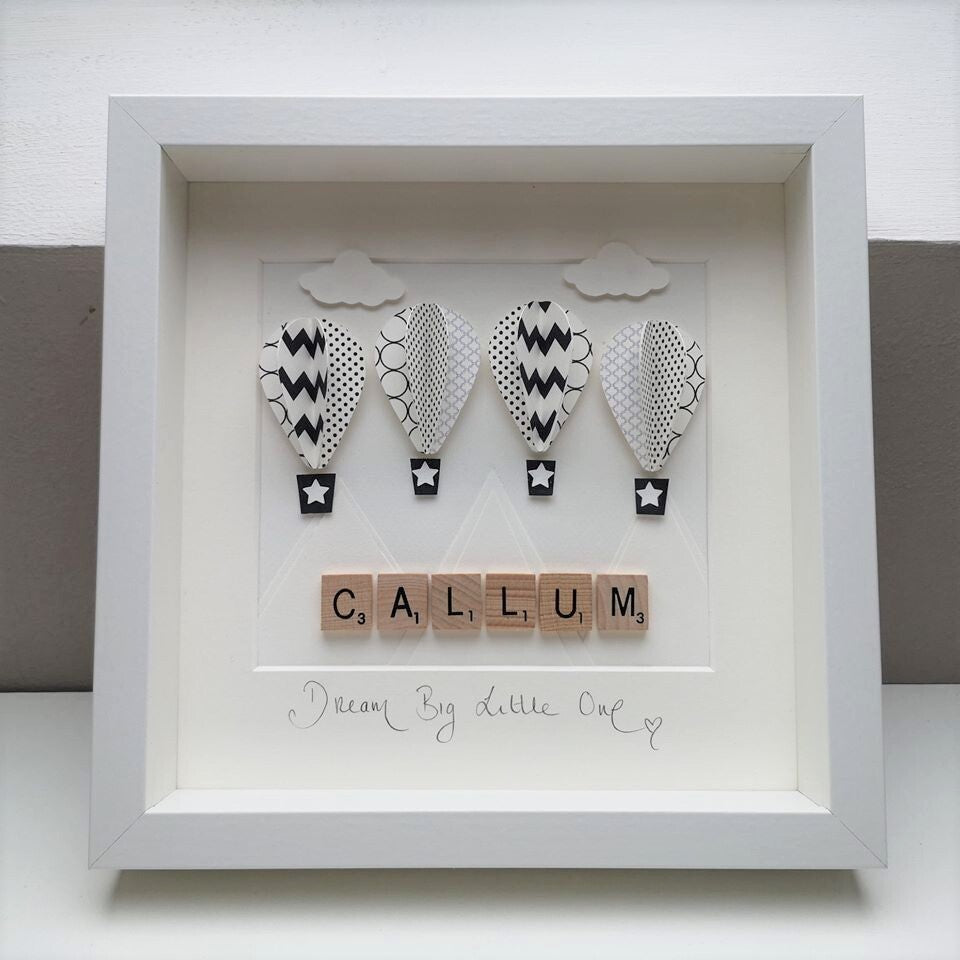
Papercutting Frames
My collection of handmade papercut frames that combine my love of paper...

